
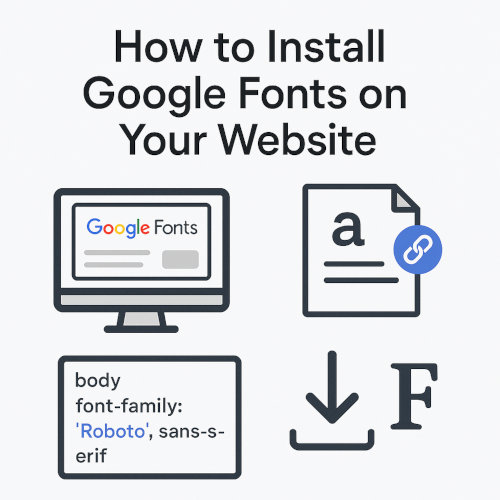
How to Install Google Fonts on Your Website
Using Google Fonts on your website is one of the easiest ways to enhance your design with beautiful typography. With a massive library of free and open-source fonts, Google Fonts gives you the ability to customize the look and feel of your site with just a few lines of code. In this post, we'll show you how to install Google Fonts on your website step-by-step, using both the standard and more optimized methods.
1. Choose a Font from Google Fonts
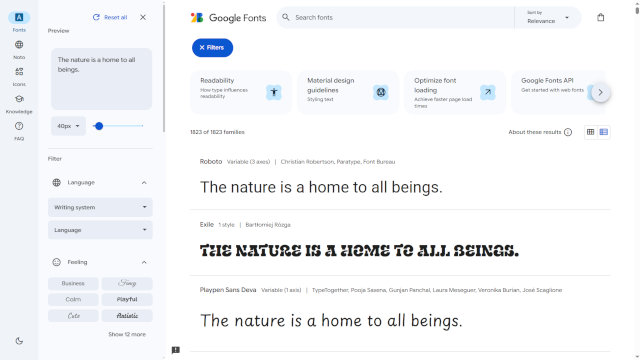
Start by visiting the Google Fonts website. You can browse fonts by category, popularity or style. Once you find a font you like, click on it to open its details page.
Tip: Google Fonts lets you preview text in different sizes and weights before adding it to your site.
2. Select Font Styles and Weights
Most fonts on Google Fonts come with multiple styles and weights like regular, bold, italic, etc. Select only the styles you need, in order to keep your site lightweight and fast. Because each font weight and style increase the total font file size.
After selecting styles, click the Get embed code icon at the top-right corner of the page. You'll see a popup with the HTML link and CSS import options.
3. Add the Link Tag to Your HTML
Copy the link tag from the Google Fonts page and paste it inside the section of your HTML file.
<link href="https://fonts.googleapis.com/css2?family=Roboto:wght@400;700&display=swap" rel="stylesheet">
This method loads the fonts directly from Google's servers and is the most common way to include fonts in a website.
4. Use the Font in Your CSS
Once the font is loaded, apply it to your HTML elements using the font-family property in your CSS file.
body {
font-family: "Roboto", sans-serif;
}
You can apply the font to specific elements like h1, p, or class-based selectors as needed.
5. Alternative: Use @import in CSS
Instead of using a link tag, you can import Google Fonts in your CSS using the @import rule. Paste it at the top of your CSS file like this:
@import url("https://fonts.googleapis.com/css2?family=Roboto:wght@400;700&display=swap");
Note that this method is less performant than the link tag and is not recommended for critical styles or large projects.
6. Load Fonts Locally
To improve performance and gain more control, you can host Google Fonts locally on where you host your website. Use tools like google-webfonts-helper to download the font files and generate the necessary CSS.
@font-face {
font-family: "Roboto";
src: url("/fonts/roboto.woff2") format("woff2");
font-weight: 400;
font-style: normal;
}
Then use font-family: "Roboto", sans-serif in your styles like usual.
7. Combine Fonts with Fallbacks
Always provide a generic fallback font in your font-family stack. This ensures that if the custom font fails to load, or if the browser cannot display it properly, a similar font will be used.
body {
font-family: "Roboto", Arial, sans-serif;
}
8. Keep Performance in Mind
Loading too many font families or weights can slow down your site. Google Fonts now supports a display=swap parameter to prevent blank text rendering while fonts load.
Recommendation: Use only the weights and styles you need, and always include display=swap in the URL.
Adding Google Fonts to your website is a simple way to upgrade your design without extra cost. Whether you embed fonts using a link tag, import them in your CSS, or self-host them for better performance, Google Fonts gives you flexible options for modern typography. Just remember to use them sparingly to keep your site fast and user-friendly.
More HTML Tips
Top 10 HTML Tags Every HTML Beginner Should Know What Is Semantic HTML and Why It Matters in 2025 Copy All HTML Source Code with Inspect in Chrome How to Create a Number Input Field in HTML How to Create a Download Link in HTML How to Change HTML Code in Multiple Files at Once Email Hyperlinks: HTML mailto Examples
HTML Tips